1 Introduction to Jupyter Notebooks and programming in python
This chapter is a very brief introduction to python and Jupyter notebooks. We only discuss the content relevant for applying python to analyze data.
1.1 Installation
Anaconda: If you are new to python, we recommend downloading the Anaconda installer and following the instructions for installation. Once installed, we’ll use the Jupyter Notebook interface to write code.
Quarto: We’ll use Quarto to publish the **.ipynb* file containing text, python code, and the output. Download and install Quarto from here.
1.2 Jupyter notebook
1.2.1 Introduction
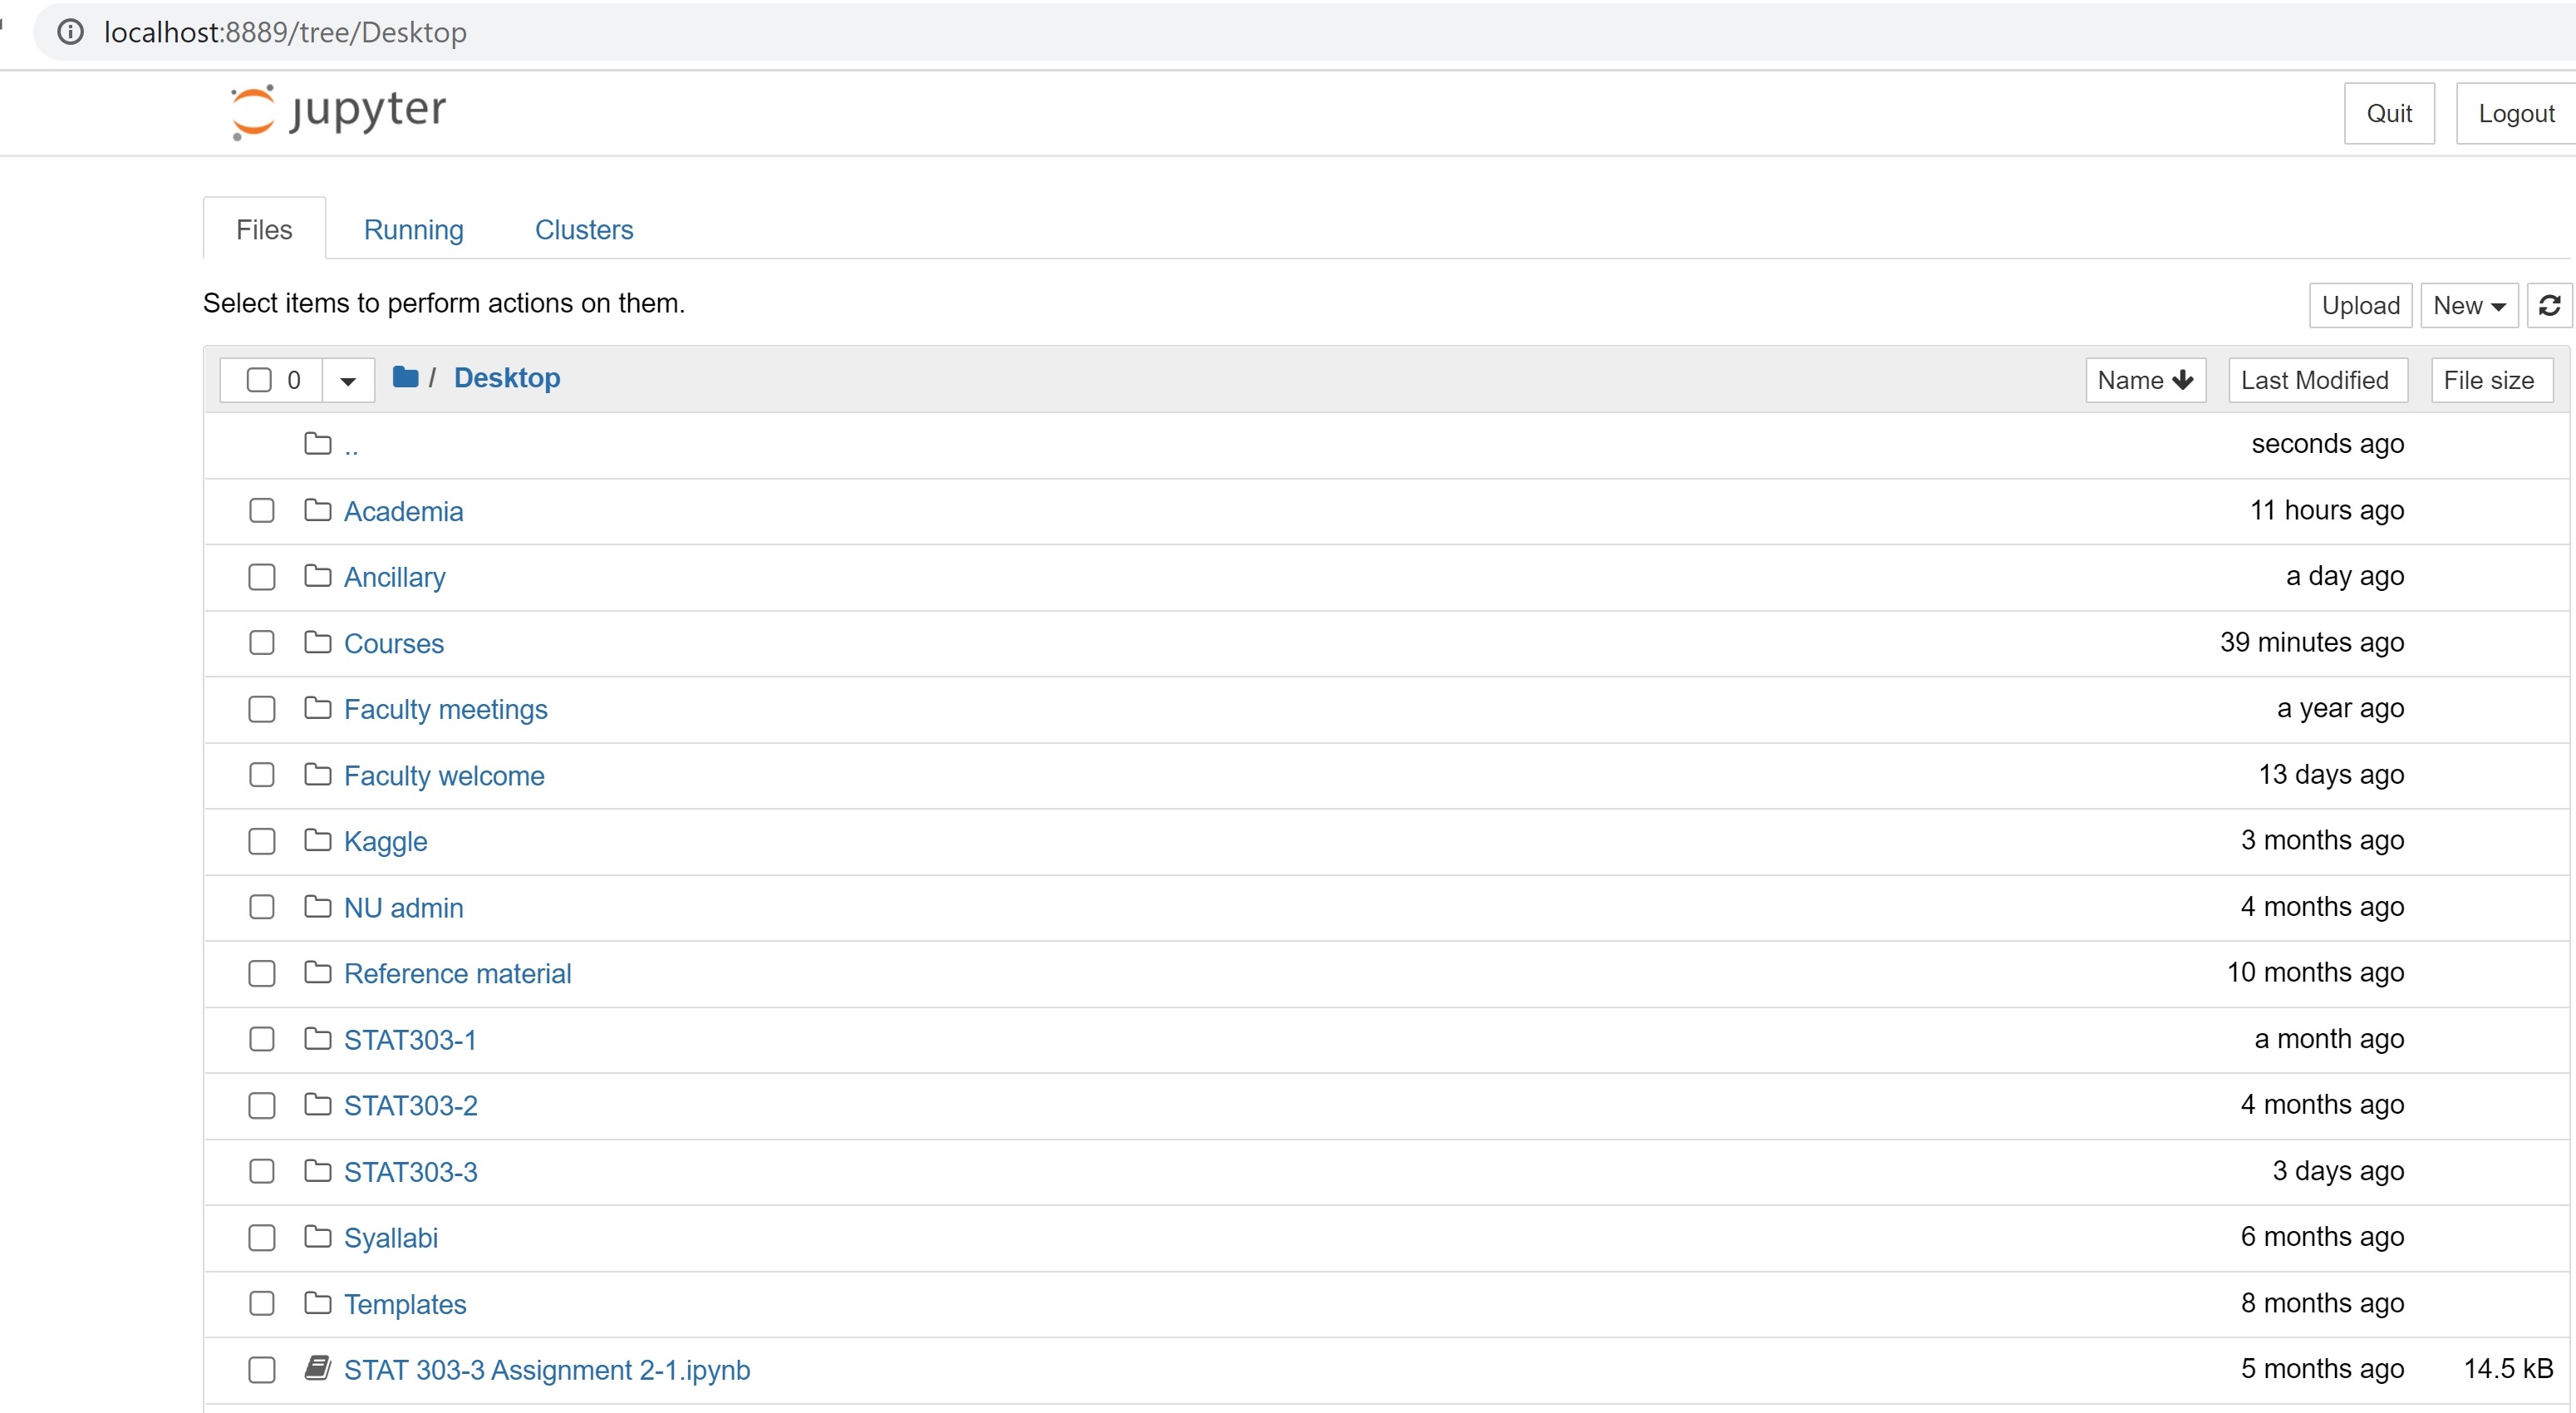
Jupyter notebook is an interactive platform, where you can write code and text, and make visualizations. You can access Jupyter notebook from the Anaconda Navigator, or directly open the Jupyter Notebook application itself. It should automatically open up in your default browser. The figure below shows a Jupyter Notebook opened with Google Chrome. This page is called the landing page of the notebook.
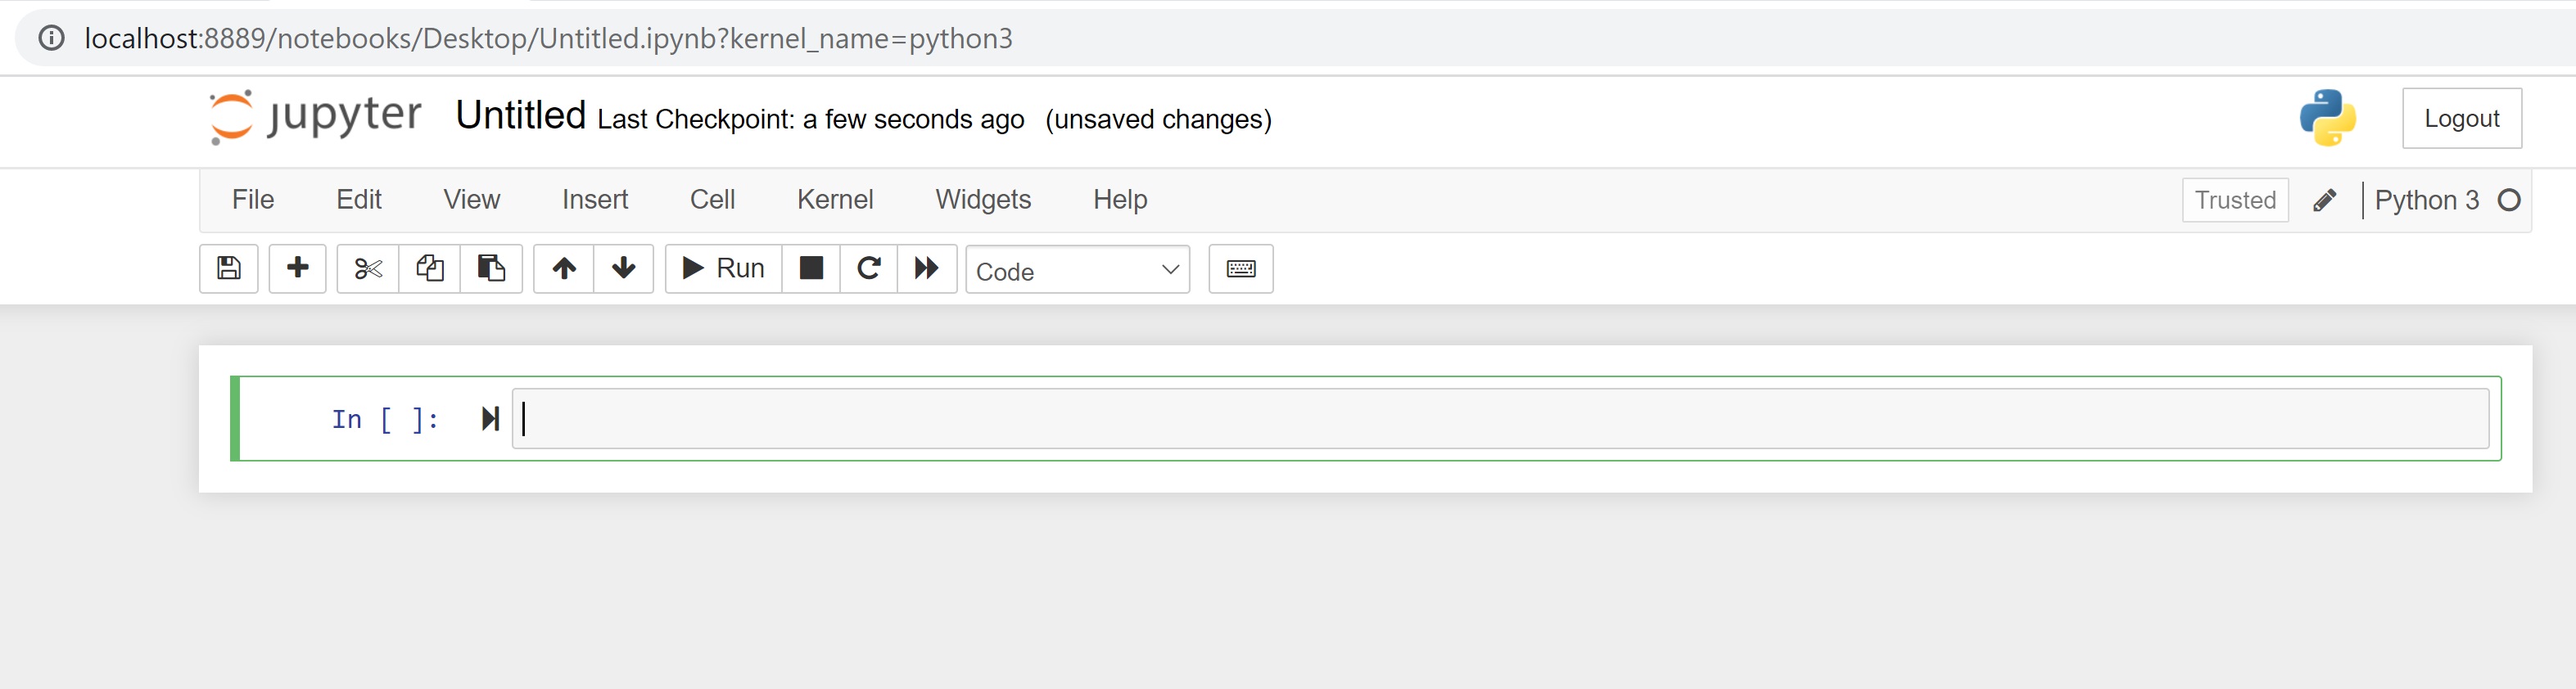
To create a new notebook, click on the New button and select the Python 3 option. You should see a blank notebook as in the figure below.
1.2.2 Writing and executing code
Code cell: By default, a cell is of type Code, i.e., for typing code, as seen as the default choice in the dropdown menu below the Widgets tab. Try typing a line of python code (say, 2+3) in an empty code cell and execute it by pressing Shift+Enter. This should execute the code, and create an new code cell. Pressing Ctlr+Enter for Windows (or Cmd+Enter for Mac) will execute the code without creating a new cell.
Commenting code in a code cell: Comments should be made while writing the code to explain the purpose of the code or a brief explanation of the tasks being performed by the code. A comment can be added in a code cell by preceding it with a # sign. For example, see the comment in the code below.
Writing comments will help other users understand your code. It is also useful for the coder to keep track of the tasks being performed by their code.
#This code adds 3 and 5
3+58Markdown cell: Although a comment can be written in a code cell, a code cell cannot be used for writing headings/sub-headings, and is not appropriate for writing lengthy chunks of text. In such cases, change the cell type to Markdown from the dropdown menu below the Widgets tab. Use any markdown cheat sheet found online, for example, this one to format text in the markdown cells.
Give a name to the notebook by clicking on the text, which says ‘Untitled’.
1.2.3 Saving and loading notebooks
Save the notebook by clicking on File, and selecting Save as, or clicking on the Save and Checkpoint icon (below the File tab). Your notebook will be saved as a file with an exptension ipynb. This file will contain all the code as well as the outputs, and can be loaded and edited by a Jupyter user. To load an existing Jupyter notebook, navigate to the folder of the notebook on the landing page, and then click on the file to open it.
1.2.4 Rendering notebook as HTML
We’ll use Quarto to print the **.ipynb* file as HTML. Check the procedure for rendering a notebook as HTML here. You have several options to format the file. Here are some points to remember when using Quarto to render your notebook as HTML:
The
Raw NBConvertcell type is used to render different code formats into HTML or LaTeX. This information is stored in the notebook metadata and converted appropriately. Use this cell type to put the desired formatting settings for the HTML file.In the formatting settings, remember to use the setting
embed-resources: true. This will ensure that the rendered HTML file is self-contained, and is not dependent on other files. This is especially important when you are sending the HTML file to someone, or uploading it somewhere. If the file is self-contained, then you can send the file by itself without having to attach the dependent files with it.
Once you have entered the desired formatting setting in the Raw NBConver cell, you are ready to render the notebook to HTML. Open the command prompt, navigate to the directory containing the notebook (.ipynb file), and use the command: quarto render filename.ipynb --to html.
1.3 In-class exercise
- Create a new notebook.
- Save the file as
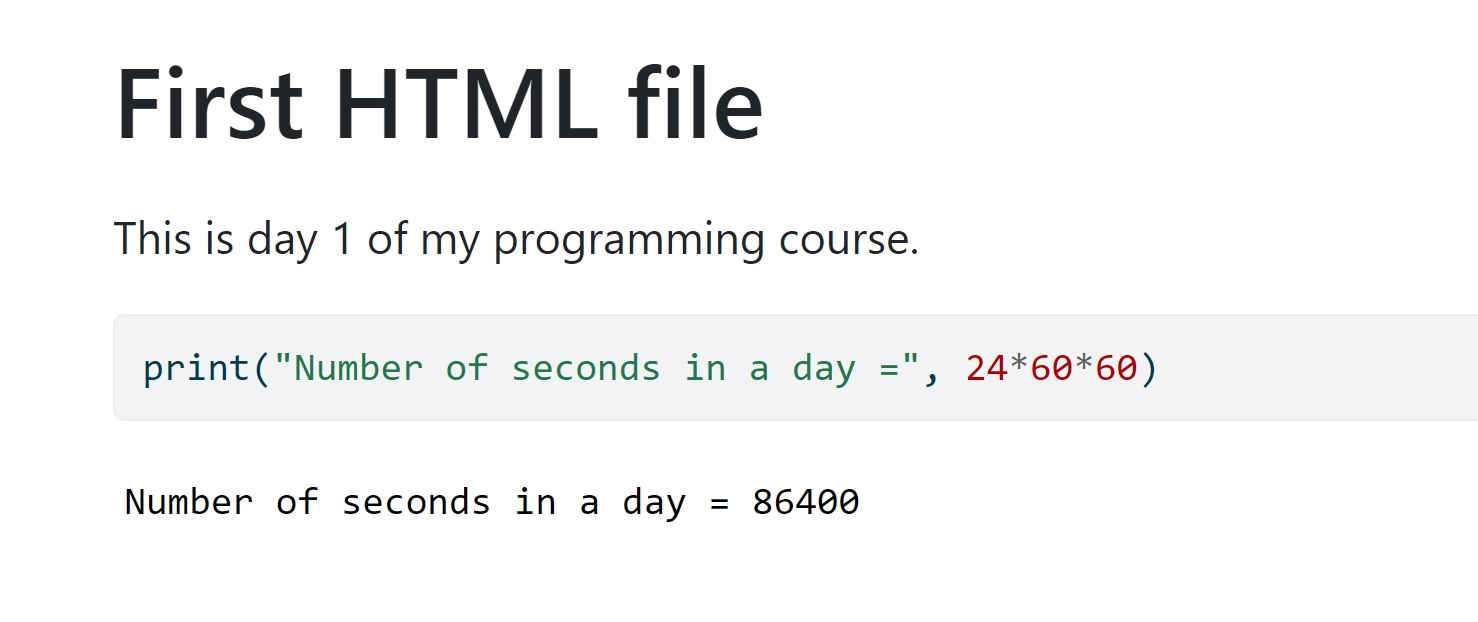
In_class_exercise_1. - Give a heading to the file -
First HTML file. - Print
Today is day 1 of my programming course. - Compute and print the number of seconds in a day.
The HTML file should look like the picture below.
1.4 Python libraries
There are several built-in functions in python like print(), abs(), max(), sum() etc., which do not require importing any library. However, these functions will typically be insufficient for a analyzing data. Some of the popular libraries in data science and their primary purposes are as follows:
- NumPy: Performing numerical operations and efficiently storing numerical data.
- Pandas: Reading, cleaning and manipulating data.
- Matplotlib, Seaborn: Visualizing data.
- SciPy: Performing scientific computing such as solving differential equations, optimization, statistical tests, etc.
- Scikit-learn: Data pre-processing and machine learning, with a focus on prediction.
- Statsmodels: Developing statistical models with a focus on inference
A library can be imported using the import keyword. For example, a NumPy library can be imported as:
import numpy as npUsing the as keyword, the NumPy library has been given the name np. All the functions and attributes of the library can be called using the ‘np.’ prefix. For example, let us generate a sequence of whole numbers upto 10 using the NumPy function arange():
np.arange(8)array([0, 1, 2, 3, 4, 5, 6, 7])Generating random numbers is very useful in python for performing simulations (we’ll see in later chapters). The library random is used to generate random numbers such as integers, real numbers based on different probability distributions, etc.
Below is an example of using the randint() function of the library for generating random numbers in [a, b], where a and b are integers.
import random as rm
rm.randint(5,10) #This will generate a random number in [5,10]71.5 Debugging and errors
Read sections 1.3 - 1.6 from http://openbookproject.net/thinkcs/python/english3e/way_of_the_program.html
1.6 Terms used in programming
Read section 1.11 from http://openbookproject.net/thinkcs/python/english3e/way_of_the_program.html